A Deep Dive into React 19 Performance
Explore the revolutionary performance features in React 19, including the new React Compiler for automatic memoization, streaming SSR with Suspense, and advanced asset loading APIs.

Introduction: React 19 - Performance by Default
For years, optimizing React applications meant a disciplined use of hooks like useMemo, useCallback, and HOCs like React.memo. While powerful, these tools added mental overhead and boilerplate, turning performance optimization into a manual chore. React 19 changes the game entirely. With the introduction of the new React Compiler, performance is no longer an afterthought—it's the default. This post explores the revolutionary performance enhancements in React 19, from automatic memoization to smarter data fetching and asset loading.
React 19's philosophy is simple: write straightforward, intuitive code, and let the compiler handle the optimization. This marks a significant shift towards a more ergonomic and powerful developer experience.
1. The Game Changer: The React Compiler and Automatic Memoization
The single most significant performance update in React 19 is the React Compiler (previously codenamed 'React Forget'). This isn't a new API to learn, but an optimizing compiler that understands the rules of React and automatically rewrites your code to be more performant by memoizing components and hooks.
The Old Way (React 18 and below)
Previously, to prevent a child component from re-rendering when its parent's state changed, you had to manually wrap it in React.memo and ensure any function props were wrapped in useCallback.
// React 18: Manual memoization required
import React, { useState, useCallback } from 'react';

const ExpensiveButton = React.memo(({ onClick }) => {
  console.log('ExpensiveButton is rendering...');
  return <button onClick={onClick}>Click Me</button>;
});

function App() {
  const [count, setCount] = useState(0);

  // We need useCallback to prevent a new function from being created on every render
  const handleClick = useCallback(() => {
    console.log('Button clicked!');
  }, []);

  return (
    <div>
      <h1>Count: {count}</h1>
      <button onClick={() => setCount(c => c + 1)}>Increment</button>
      <ExpensiveButton onClick={handleClick} />
    </div>
  );
}
The New Way (React 19)
With the React Compiler, you just write the code. The compiler analyzes the JSX and automatically applies memoization where needed, eliminating the need for React.memo, useMemo, and useCallback in most cases.
// React 19: The compiler handles everything automatically!
import React, { useState } from 'react';

// No React.memo needed!
function ExpensiveButton({ onClick }) {
  console.log('ExpensiveButton is rendering...'); // This will only log when props actually change
  return <button onClick={onClick}>Click Me</button>;
}

function App() {
  const [count, setCount] = useState(0);

  // No useCallback needed!
  const handleClick = () => {
    console.log('Button clicked!');
  };

  return (
    <div>
      <h1>Count: {count}</h1>
      <button onClick={() => setCount(c => c + 1)}>Increment</button>
      <ExpensiveButton onClick={handleClick} />
    </div>
  );
}
2. Enhanced Server-Side Rendering (SSR) with Suspense
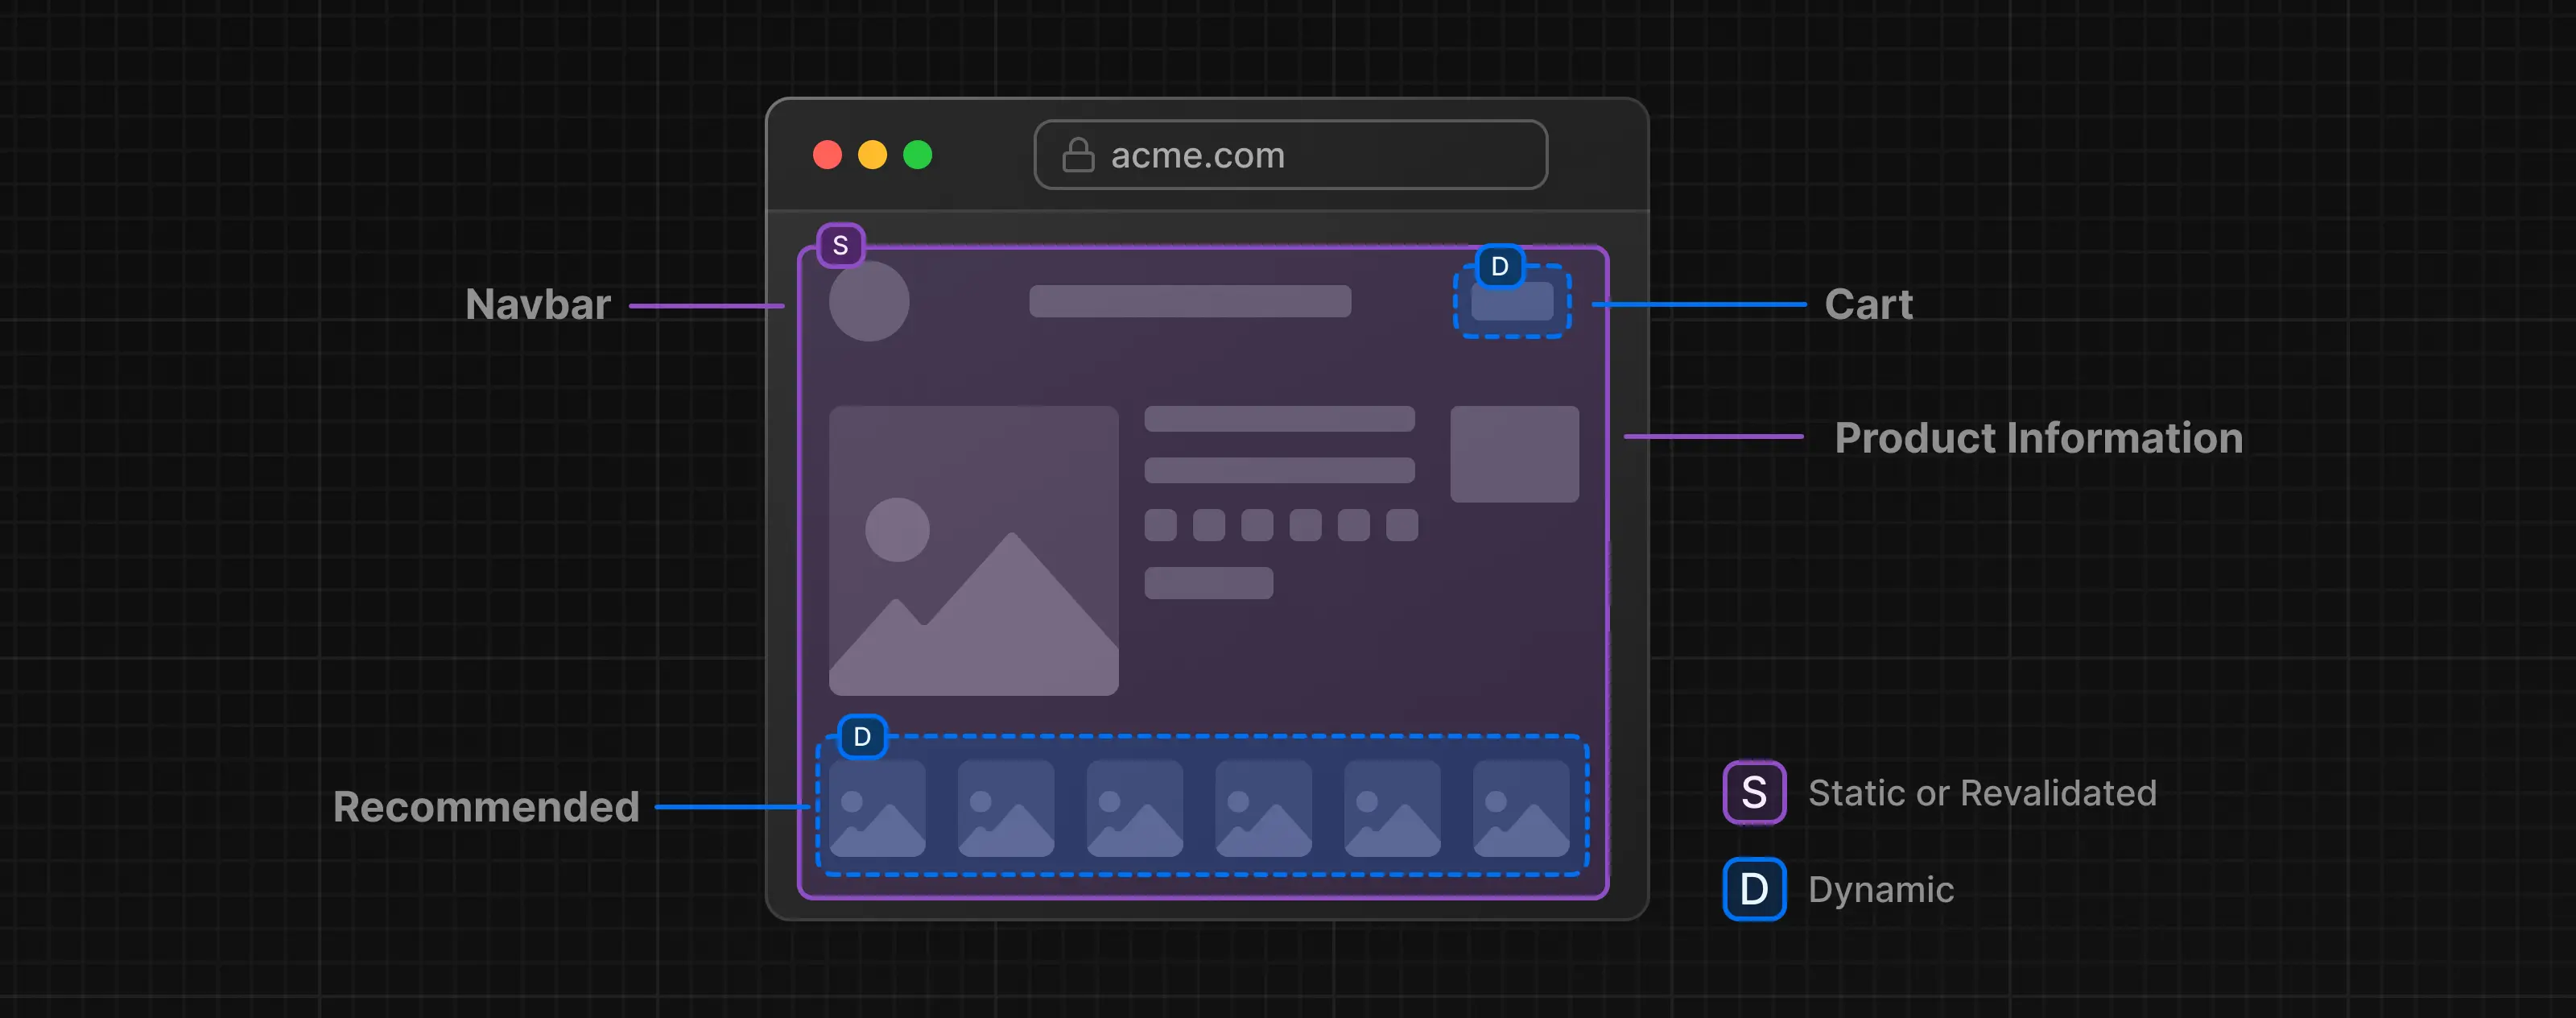
React 19 significantly improves SSR capabilities, especially with streaming. Previously, an entire page had to wait for the slowest data fetch on the server before any HTML could be sent to the client. With streaming SSR and Suspense, React can send the HTML shell of your page immediately, and then stream in the content as data becomes available on the server.
// With React 19, Suspense works seamlessly on the server.
import { Suspense } from 'react';
import { fetchProfileData } from './api'; // Assume this fetches data from an API

// This component fetches data.
async function ProfileDetails() {
  const data = await fetchProfileData();
  return <h1>{data.name}</h1>;
}

// A simple loading skeleton.
function ProfileSkeleton() {
  return <h1>Loading profile...</h1>;
}

function App() {
  return (
    <div>
      <h2>My Awesome App</h2>
      <Suspense fallback={<ProfileSkeleton />}>
        <ProfileDetails />
      </Suspense>
    </div>
  );
}
In this example, the user instantly sees 'My Awesome App' and 'Loading profile...'. Once fetchProfileData completes on the server, React streams the HTML for the user's name, replacing the skeleton without a full page refresh. This dramatically improves perceived performance and Time to First Byte (TTFB).
3. Advanced Asset Loading Optimization
Optimizing when and how you load assets like scripts, stylesheets, and fonts is critical for a fast user experience. React 19 introduces new Resource Loading APIs to give developers fine-grained control over this process.
import { preload, preinit } from 'react-dom';

function MyComponent() {
  // Preload a high-priority stylesheet that will be needed soon
  preinit('critical-styles.css', { as: 'style' });

  // Preload a script for a component the user might navigate to
  preload('heavy-chart-library.js', { as: 'script' });

  return <div>Welcome!</div>;
}preload(): A low-priority hint to the browser to start downloading a resource because it will likely be needed soon (e.g., for a subsequent page).preinit(): A high-priority instruction to the browser to fetch and initialize a resource because it will definitely be needed (e.g., a critical CSS file for the current view).
These APIs help eliminate render-blocking resources and reduce layout shifts, leading to a much smoother loading experience.
4. Virtualization & Lazy Loading for Large Datasets
Displaying thousands of items in a list remains a performance challenge. React 19's features work beautifully with established patterns like virtualization and lazy loading.
Virtualization
Virtualization (or 'windowing') is the technique of only rendering the list items currently visible in the viewport. Libraries like TanStack Virtual (@tanstack/react-virtual) or react-window are excellent choices.
Here is a basic example using react-window to render a list of 10,000 items without performance issues:
import React from 'react';
import { FixedSizeList as List } from 'react-window';

// Row component: receives style from react-window to position itself.
const Row = ({ index, style }) => (
  <div style={style}>
    Row {index + 1}
  </div>
);

const VirtualizedList = () => (
  <List
    height={400} // Height of the visible window
    itemCount={10000} // Total number of items in the list
    itemSize={35} // Height of each item
    width={'100%'}
  >
    {Row} // Pass the Row component to the list
  </List>
);

export default VirtualizedList;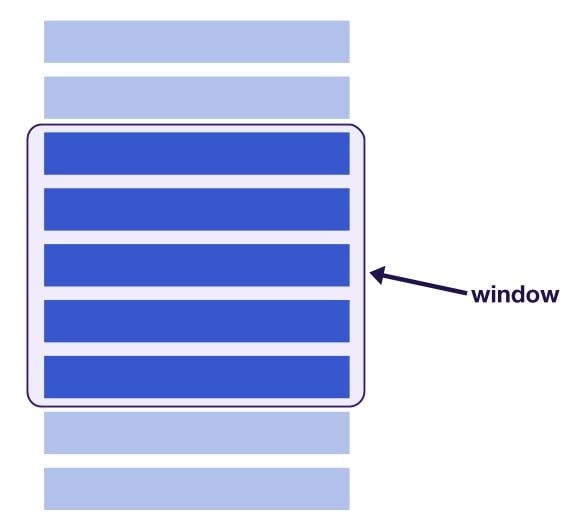
Combining with React.lazy and Suspense
Imagine a data grid component that is large and only needed on a specific dashboard page. We can combine code splitting with virtualization for maximum effect. First, we lazy-load the grid component itself. Then, once loaded, that component uses virtualization to render its rows efficiently.
import React, { Suspense, lazy, useState } from 'react';

// 1. Lazy-load the code for the component that handles the large list.
const LargeDataGrid = lazy(() => import('./components/LargeDataGrid')); // LargeDataGrid uses virtualization internally

function Dashboard() {
  // State to control the visibility of the data grid
  const [showGrid, setShowGrid] = useState(false);

  return (
    <div>
      <h1>User Dashboard</h1>
      {/* Other dashboard components could be here */}

      <button onClick={() => setShowGrid(true)} disabled={showGrid}>
        Show All Transactions
      </button>

      {showGrid && (
        <Suspense fallback={<div>Loading Data Grid...</div>}>
          <h2>All Transactions</h2>
          {/* 2. The component is only fetched and rendered when needed. */}
          <LargeDataGrid />
        </Suspense>
      )}
    </div>
  );
}
This two-pronged approach ensures that the initial page load is incredibly fast, as neither the component's code nor its massive dataset is loaded upfront.
Conclusion
React 19 represents a paradigm shift in how we approach performance. By baking optimization directly into the compiler and enhancing APIs for server rendering and asset loading, the React team has freed developers to focus on what matters most: building great features and user interfaces. The future of React is not just more powerful, but also simpler and faster by default.
Comments
No comments yet be the first to say something.
Leave a comment too